Input Devices
This week's assignment is to add a sensor to the board we've designed and measure something. I decided to use this assignment to start my final project.


My new idea for the final project would be to create an experimental interface that will turn defferent segments of our fingers into buttons for smartwatches/smartphones. The copper circuit tattoos, which is made by vinyl-cut copper foil and temporary tattoo decal paper, will be put onto user's hand and fingers. The circuit tattoos run through the back of the fingers and hand and reach the digital wristband/smartwatches. These buttons can be programmed for functions like "Play Song", "Pause", "Next Song", etc.

My inspiration came from these temporary metallic tattoos.

Basically the thumb would be connected to the Ground, and the segments of other fingers would be connected to different input pins of the ATtiny chip. Therefore, when the thumb touches a specific segment of the finger, that signal can be picked up by the chip.

Before testing with the copper foil and tattoo, I experimented with the conductive ink made by the company Bare Conductive (http://www.bareconductive.com/). However, when it is put on the skin, its conductivity isn't so well.


And then I tested with copper foil. It works pretty well but as expected it would fall off very easily. I guess it would be better when it is used with the temporary tattoo paper as the surface area would be increased.
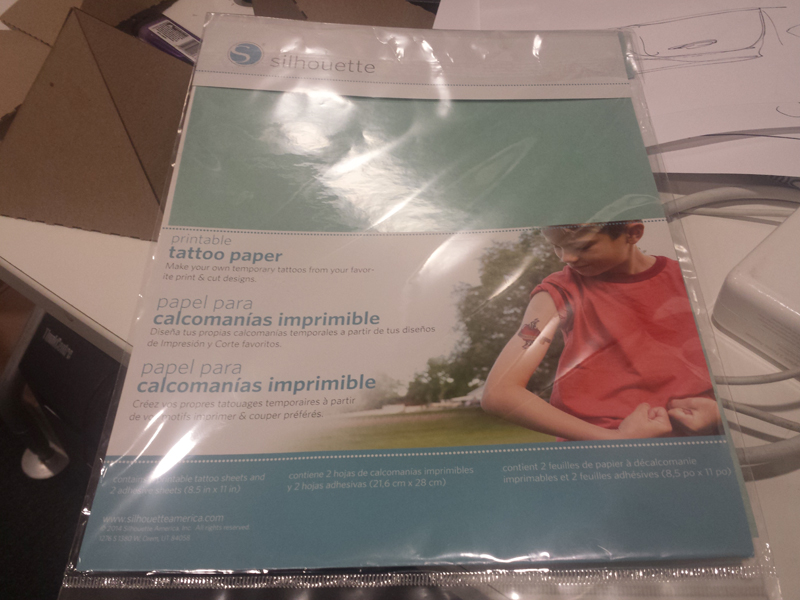
Tattoo Paper

The copper foil was put on the glossy paper, and then covered by a transparent adhesive film. However, when it was applied on the skin and tested with a multimeter, it didn't conduct electricity. There's actually a plastic film on top.

This time I put two holes on the tattoo paper before applying the copper foil.

This time it works! When two electrodes are placed on top of the tattoo the current can pass through.

I did another test on the palm and again the current can go through. The copper foil is too thick though. It doesn't look like a tattoo. I will try with thinner copper foil or gold/silver leaf next time.

And then I came to the board design. It is supposed to be the board inside the wristband. For testing purpose, this time I worked with the board with ATtiny44 that I designed two weeks ago. I removed the original button in Eagle and added some spots using Photoshop for soldering external wires that will be connected to the tattoos.

After milling and stuffing I burned the bootloader to the board using Arduino. My first board didn't work and when I desoldered the resonator the trace was by accident peeled off. I then made another board and everything went fine.

I soldered some wires to the board for a test in which the ground wire will touch different wires that are connected to different input pins and then corresponding texts will be printed in the Arduino's Serial Monitor
However, after a few hours of tests I still couldn't get the serial monitor in Arduino to work with my board. For the serial part I used the code from last year student Robert Hart's input device project and it didn't work for my board. There was nothing coming up in my serial monitor.
I will do more tests in the coming days.